1.JMS简介
Java消息服务(Java Message Service)即JMS,是一个Java平台中关于面向消息中间件的API,用于两个程序之间,或分布式系统中发送消息,进行异步通信。
JMS包括队列与主题两种模式,一种是点对点的Queue,还有一个是发布订阅的Topic方式。区别在于:
- 对于Queue模式,一个发布者发布消息,下面的接收者按队列顺序接收,比如发布了10个消息,两个接收者A,B那就是A,B总共会收到10条消息,不重复。
- 对于Topic模式,一个发布者发布消息,有两个接收者A,B来订阅,那么发布了10条消息,A,B各收到10条消息。
- 消息中间件
2.消息中间件的用途和优点
- 将数据从一个应用程序传送到另一个应用程序,或者从软件的一个模块传送到另外一个模块;
- 负责建立网络通信的通道,进行数据的可靠传送;
- 保证数据不重发,不丢失 ;
- 能够实现跨平台操作,能够为不同操作系统上的软件集成技工数据传送服务。
3.ActiveMQ
ActiveMQ 是Apache出品,最流行的,能力强劲的开源消息总线。ActiveMQ 是一个完全支持JMS1.1和J2EE 1.4规范的 JMS Provider实现,尽管JMS规范出台已经是很久的事情了,但是JMS在当今的J2EE应用中间仍然扮演着特殊的地位。
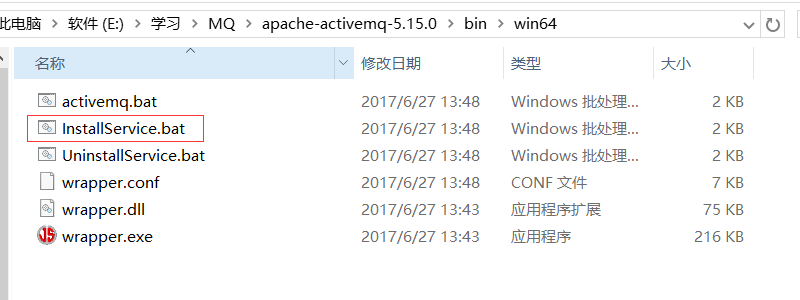
4.ActiveMQ安装
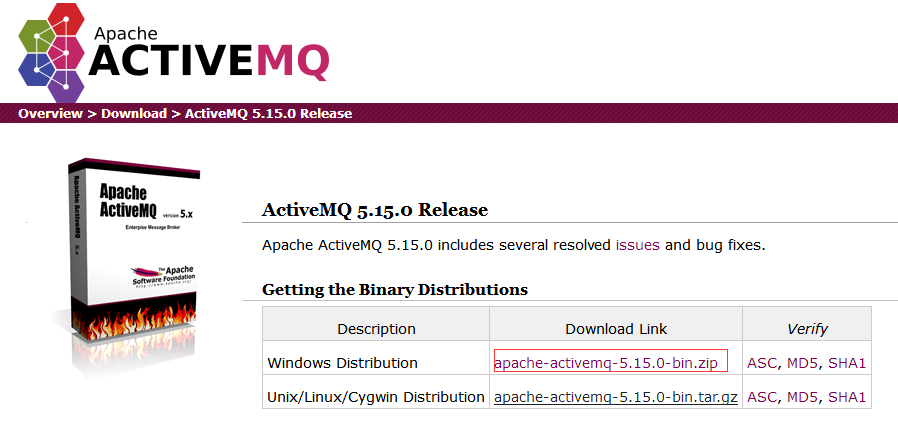
- 解压到本地,在apache-activemq-5.15.0\bin\win64的目录下选择InstallService.bat启动服务,这样下次只要到系统服务里去启动与关闭,如下图所示。
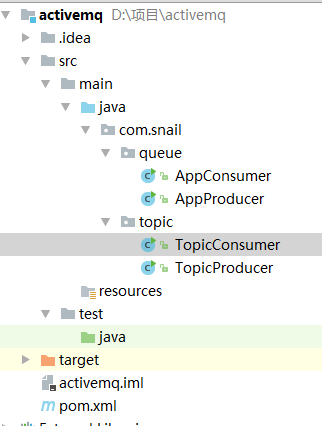
5.Demo项目结构
6.代码实现生产者消费者模式
6.1 配置依赖项
在pom.xml里添加依赖jar包
1
2
3
4
5
6
7
| <dependencies>
<dependency>
<groupId>org.apache.activemq</groupId>
<artifactId>activemq-all</artifactId>
<version>5.15.0</version>
</dependency>
</dependencies>
|
6.2 实现生产者(队列模式)
1
2
3
4
5
6
7
8
9
10
11
12
13
14
15
16
17
18
19
20
21
22
23
24
25
26
27
28
29
30
31
32
33
34
35
36
37
38
39
40
41
42
43
| package com.snail.queue;
import org.apache.activemq.ActiveMQConnectionFactory;
import javax.jms.*;
public class AppProducer {
private static final String url = "tcp://localhost:61616";
private static final String queueName = "queue-test";
public static void main(String[] args) throws JMSException {
ConnectionFactory connectionFactory = new ActiveMQConnectionFactory(url);
Connection connection = connectionFactory.createConnection();
connection.start();
Session session = connection.createSession(false, Session.AUTO_ACKNOWLEDGE);
Destination destination = session.createQueue(queueName);
MessageProducer producer = session.createProducer(destination);
for (int i = 0; i < 100; i++) {
TextMessage textMessage = session.createTextMessage("test" + i);
producer.send(textMessage);
System.out.println("发送消息:" + textMessage.getText());
}
connection.close();
}
}
|
6.3 实现消费者(队列模式)
1
2
3
4
5
6
7
8
9
10
11
12
13
14
15
16
17
18
19
20
21
22
23
24
25
26
27
28
29
30
31
32
33
34
35
36
37
38
39
40
41
42
43
44
45
| package com.snail.queue;
import org.apache.activemq.ActiveMQConnectionFactory;
import javax.jms.*;
public class AppConsumer {
private static final String url="tcp://localhost:61616";
private static final String queueName="queue-test";
public static void main(String[] args) throws JMSException {
ConnectionFactory connectionFactory=new ActiveMQConnectionFactory(url);
Connection connection = connectionFactory.createConnection();
connection.start();
Session session = connection.createSession(false, Session.AUTO_ACKNOWLEDGE);
Destination destination = session.createQueue(queueName);
MessageConsumer consumer=session.createConsumer(destination);
consumer.setMessageListener(new MessageListener() {
public void onMessage(Message message) {
TextMessage textMessage= (TextMessage) message;
try {
System.out.println("接收消息:"+textMessage.getText());
} catch (JMSException e) {
e.printStackTrace();
}
}
});
}
}
|
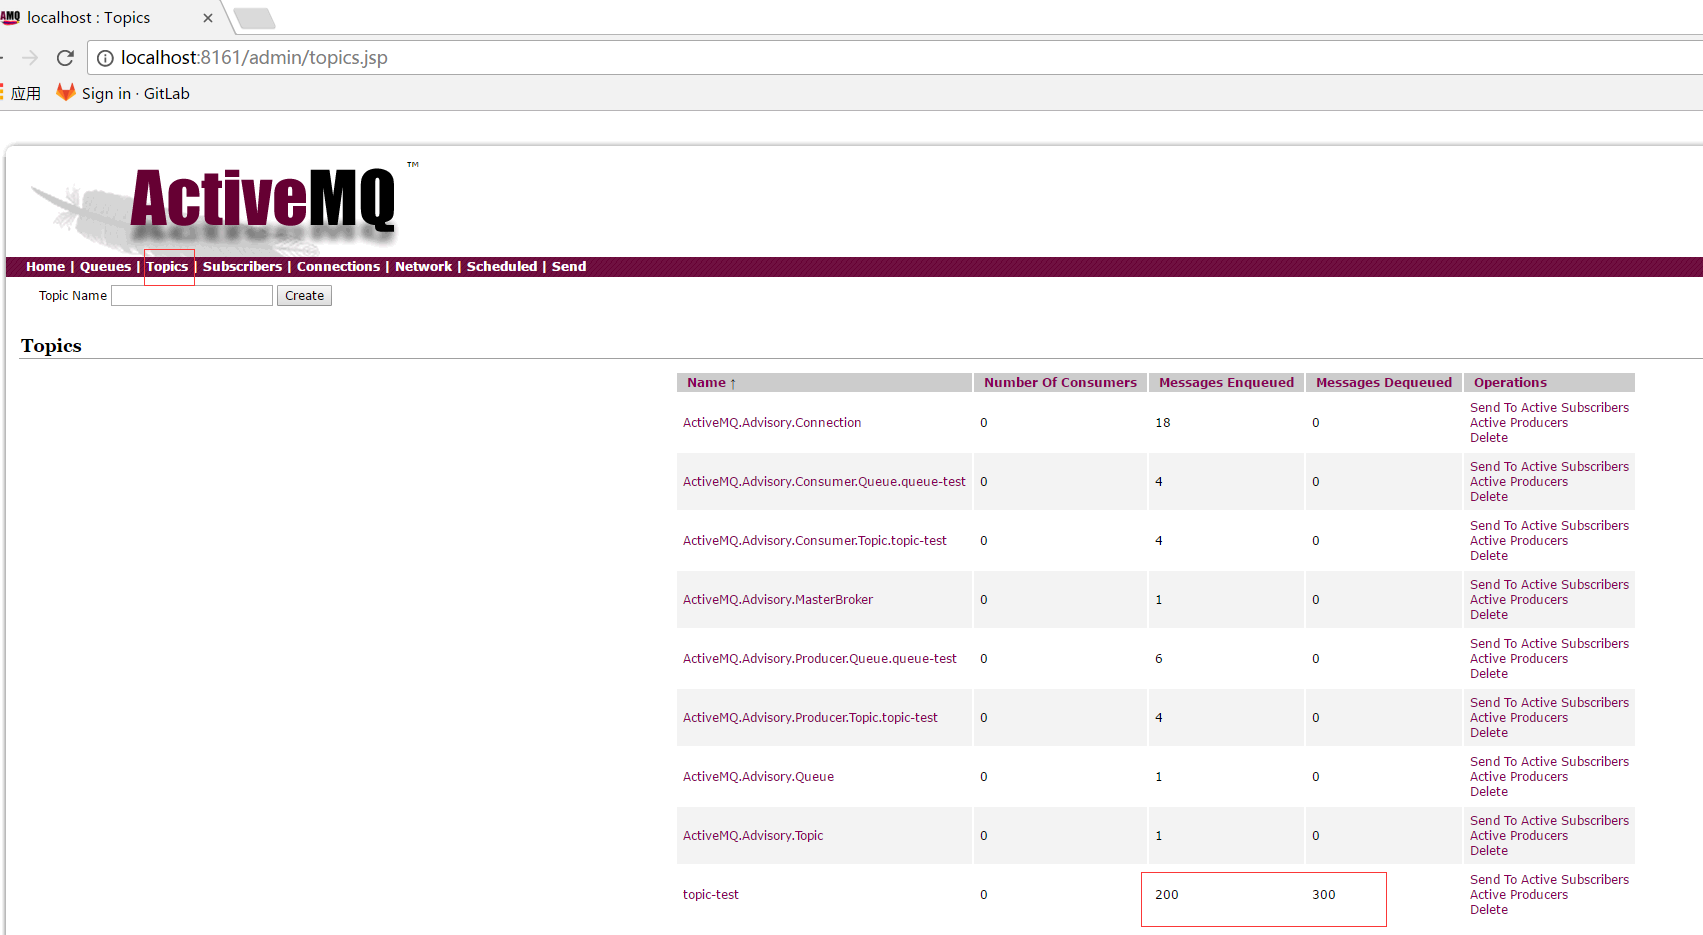
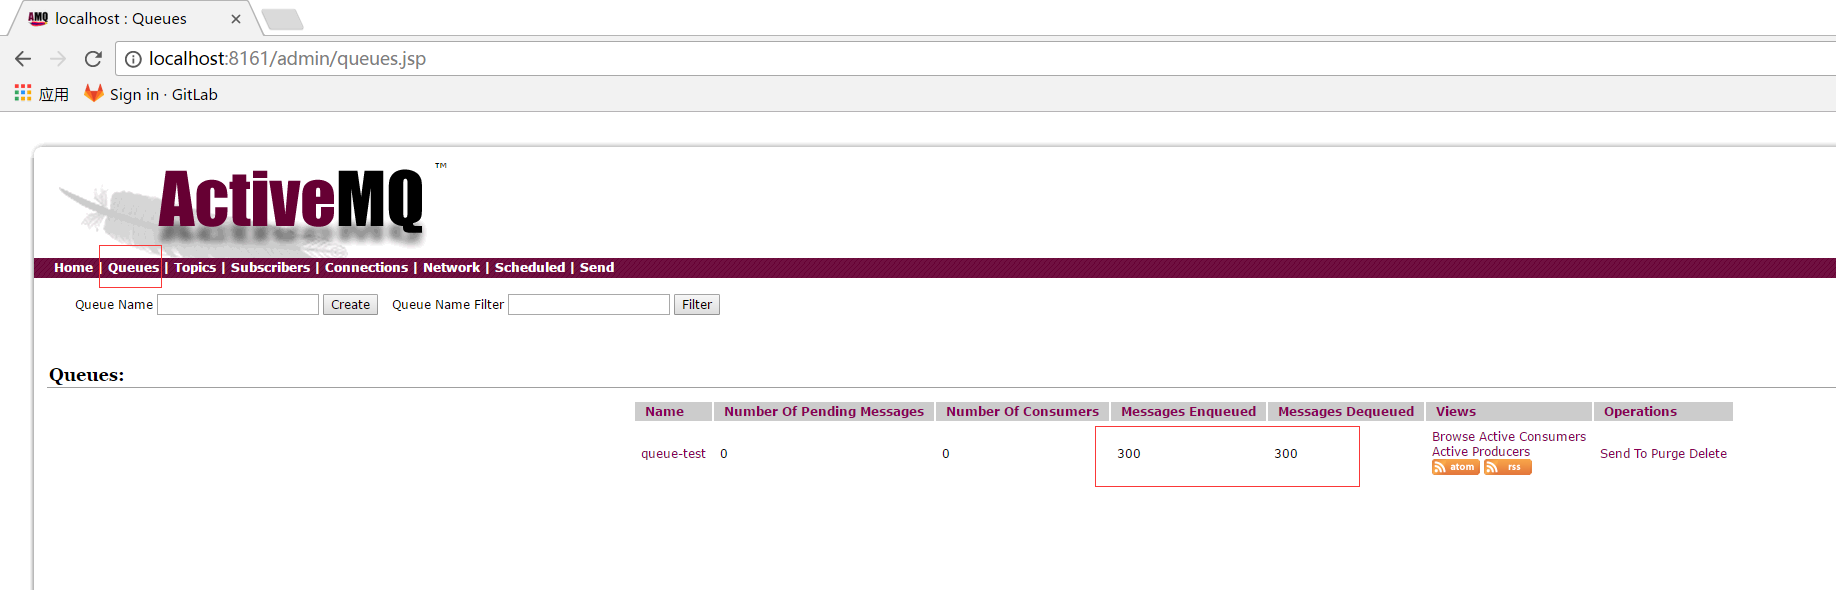
6.4 ActiveMQ客户端查看队列模式
6.5 实现生产者(主题模式)
1
2
3
4
5
6
7
8
9
10
11
12
13
14
15
16
17
18
19
20
21
22
23
24
25
26
27
28
29
30
31
32
33
34
35
36
37
38
39
40
41
42
43
44
| package com.snail.topic;
import org.apache.activemq.ActiveMQConnectionFactory;
import javax.jms.*;
public class TopicProducer {
private static final String url = "tcp://localhost:61616";
private static final String topicName = "topic-test";
public static void main(String[] args) throws JMSException {
ConnectionFactory connectionFactory = new ActiveMQConnectionFactory(url);
Connection connection = connectionFactory.createConnection();
connection.start();
Session session = connection.createSession(false, Session.AUTO_ACKNOWLEDGE);
Destination destination = session.createTopic(topicName);
MessageProducer producer = session.createProducer(destination);
for (int i = 0; i < 100; i++) {
TextMessage textMessage = session.createTextMessage("test" + i);
producer.send(textMessage);
System.out.println("发送消息:" + textMessage.getText());
}
connection.close();
}
}
|
6.6 实现消费者模式(主题模式)
1
2
3
4
5
6
7
8
9
10
11
12
13
14
15
16
17
18
19
20
21
22
23
24
25
26
27
28
29
30
31
32
33
34
35
36
37
38
39
40
41
42
43
44
45
| package com.snail.topic;
import org.apache.activemq.ActiveMQConnectionFactory;
import javax.jms.*;
public class TopicConsumer {
private static final String url="tcp://localhost:61616";
private static final String topicName="topic-test";
public static void main(String[] args) throws JMSException {
ConnectionFactory connectionFactory=new ActiveMQConnectionFactory(url);
Connection connection = connectionFactory.createConnection();
connection.start();
Session session = connection.createSession(false, Session.AUTO_ACKNOWLEDGE);
Destination destination = session.createTopic(topicName);
MessageConsumer consumer=session.createConsumer(destination);
consumer.setMessageListener(new MessageListener() {
public void onMessage(Message message) {
TextMessage textMessage= (TextMessage) message;
try {
System.out.println("接收消息:"+textMessage.getText());
} catch (JMSException e) {
e.printStackTrace();
}
}
});
}
}
|
6.7 ActiveMQ客户端查看主题模式